
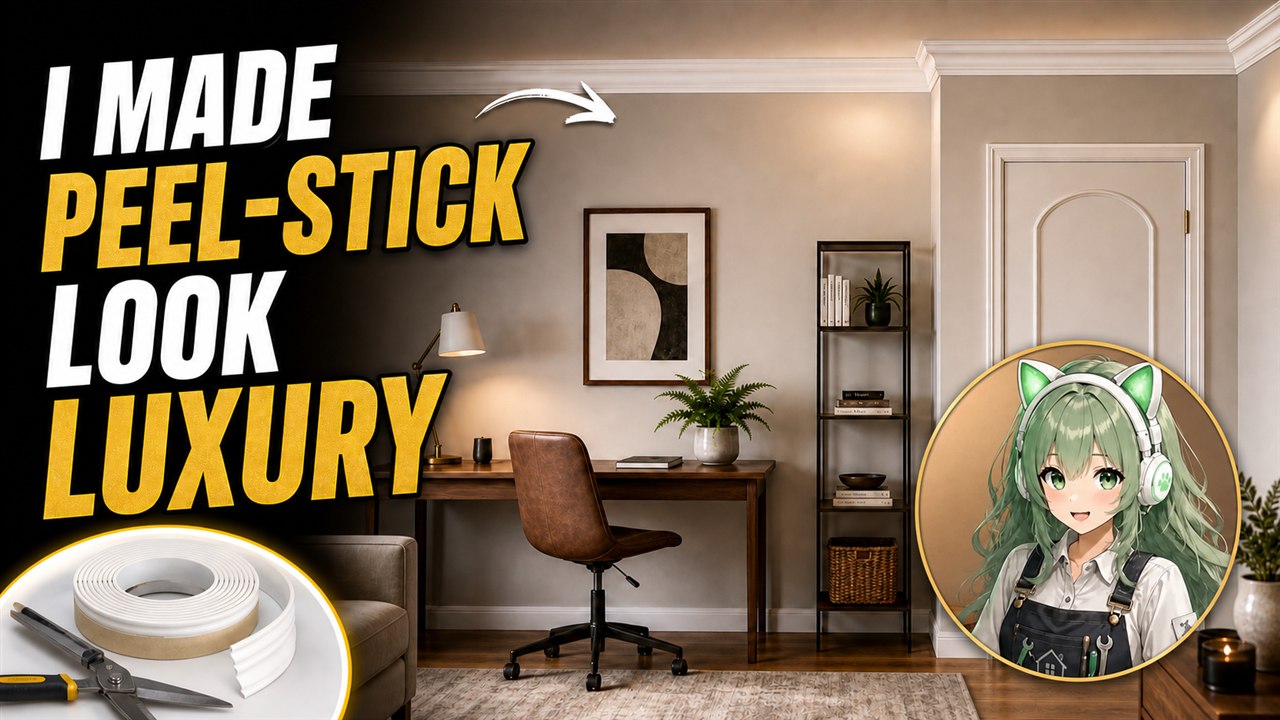
Peel-and-stick molding is one of those home hacks that can either look surprisingly polished or immediately look like a shortcut. The difference is not magic. It comes down to choosing a simple trim profile, placing it where lightweight adhesive makes sense, and installing it with the same patience you would give a more expensive detail.
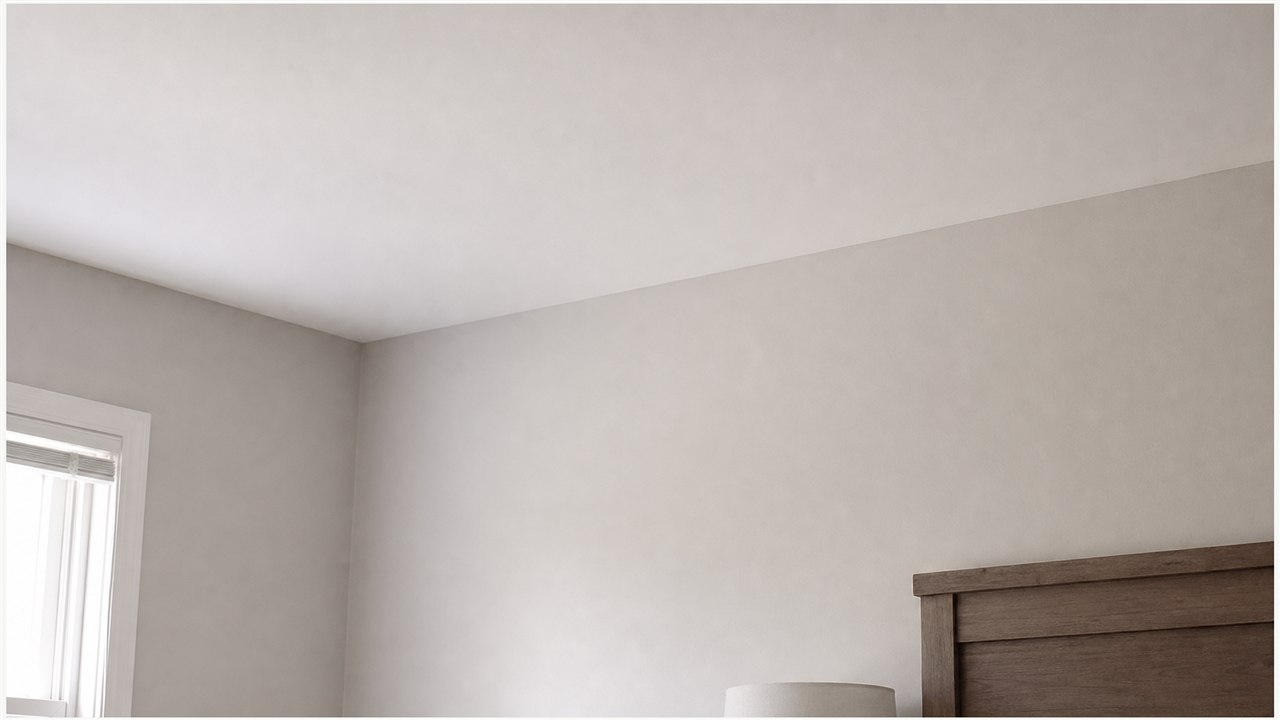
What This Hack Is Really Testing
The goal is not to pretend adhesive trim is the same as custom carpentry. Real wood crown molding is stronger, more permanent, and better for large architectural work. This hack is about smaller rooms, accent walls, mirror frames, door frames, and simple ceiling edges where a clean line can make a builder-grade space feel more finished.
If the room already has clean paint and mostly smooth surfaces, peel-and-stick molding can add the feeling of a designed edge without nails, caulk, sawdust, or a full weekend renovation.
Realistic Cost From Amazon.com U.S.
For this project, I treated Amazon.com U.S. as the primary cost source and kept the prices in USD. The essentials are simple: lightweight peel-and-stick molding, miter shears, a measuring tape, a level or laser line, a microfiber cloth, and optional painter’s tape for marking placement before the adhesive touches the wall.
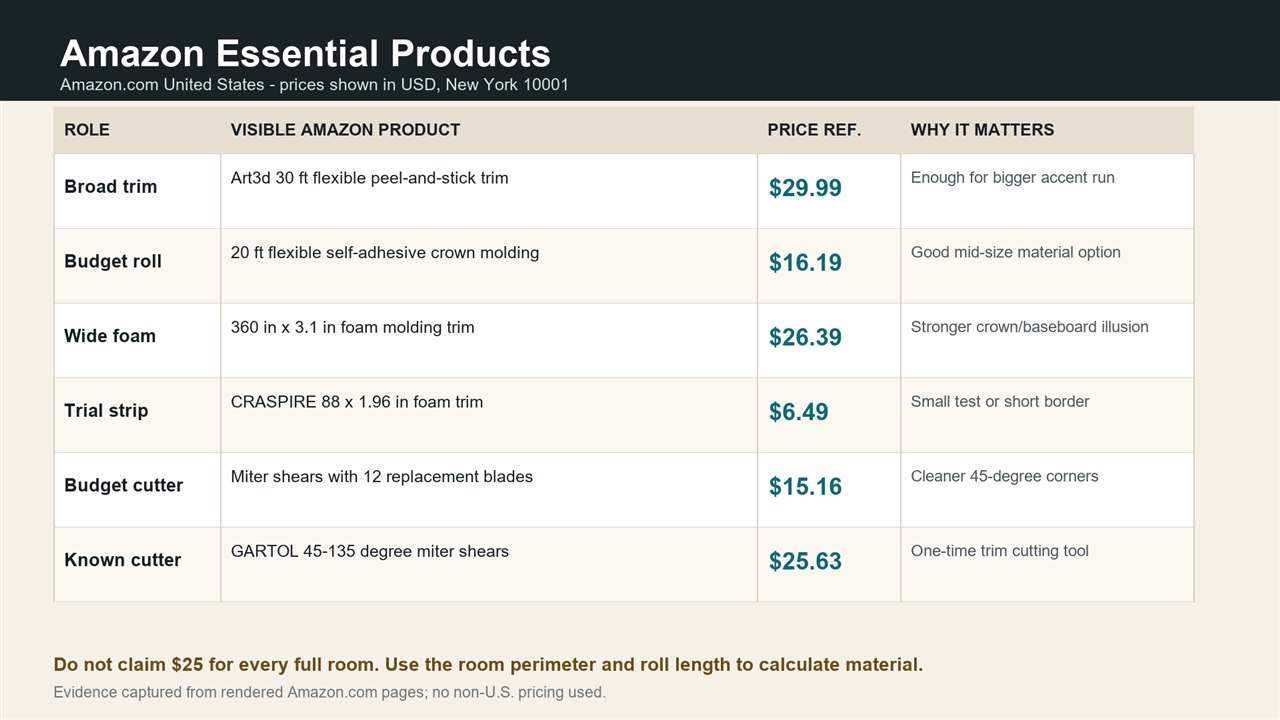
The cost can stay reasonable because this is not a full carpentry setup. The important part is choosing enough trim length for the actual wall run, then adding a little extra for corner mistakes and test cuts. Running out halfway through a wall is where the project starts to look messy.
Use The Right Cutting Tool
For lightweight adhesive molding, a heavy saw is usually unnecessary and can make the setup feel more complicated than the material deserves. Miter shears are a cleaner fit for this kind of trim because they are small, controlled, and built for quick angle cuts on soft molding strips.
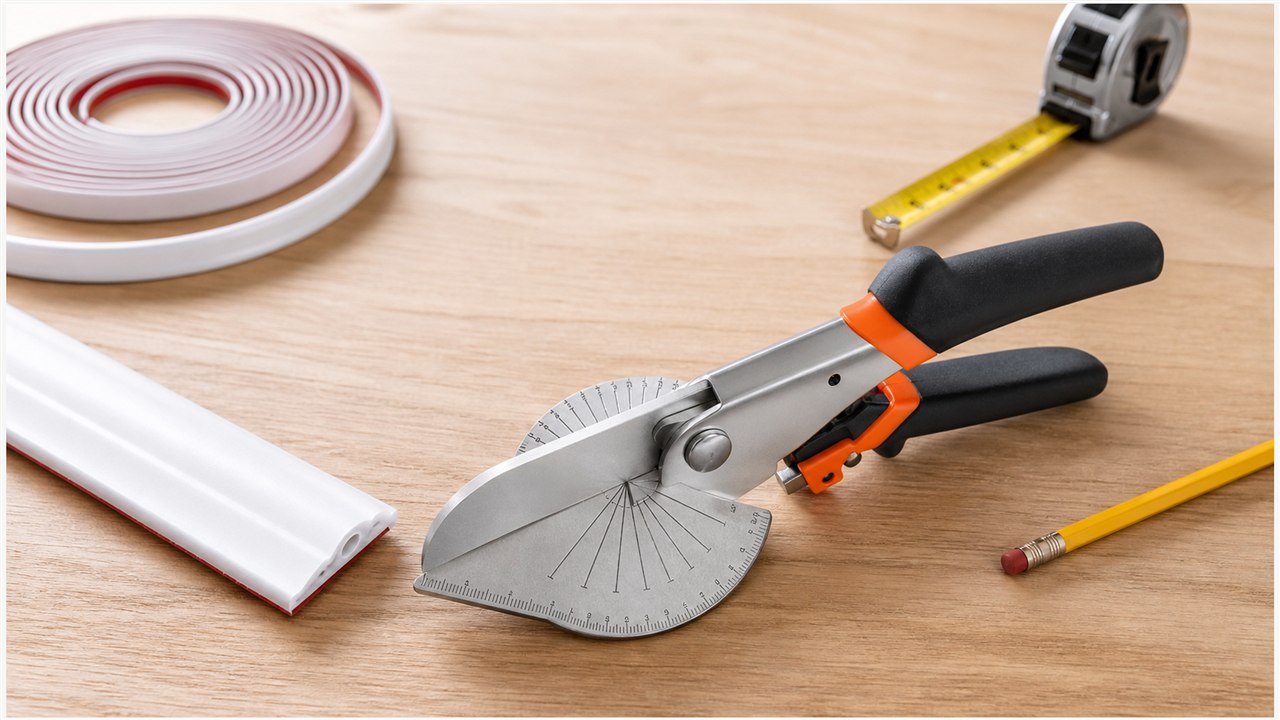
The corner is the part everyone notices. If the angle is rough, the whole wall looks rushed. Before cutting the real strip, make a small test cut and confirm which side of the profile should face up. That one check prevents a lot of backwards corners.
Prep Before You Peel
The adhesive is only as good as the surface under it. Dust, oily paint, chalky old walls, humidity, and heavy texture can all weaken the bond. Clean the wall, let it dry, and test a short piece in a hidden spot before committing to the visible run.
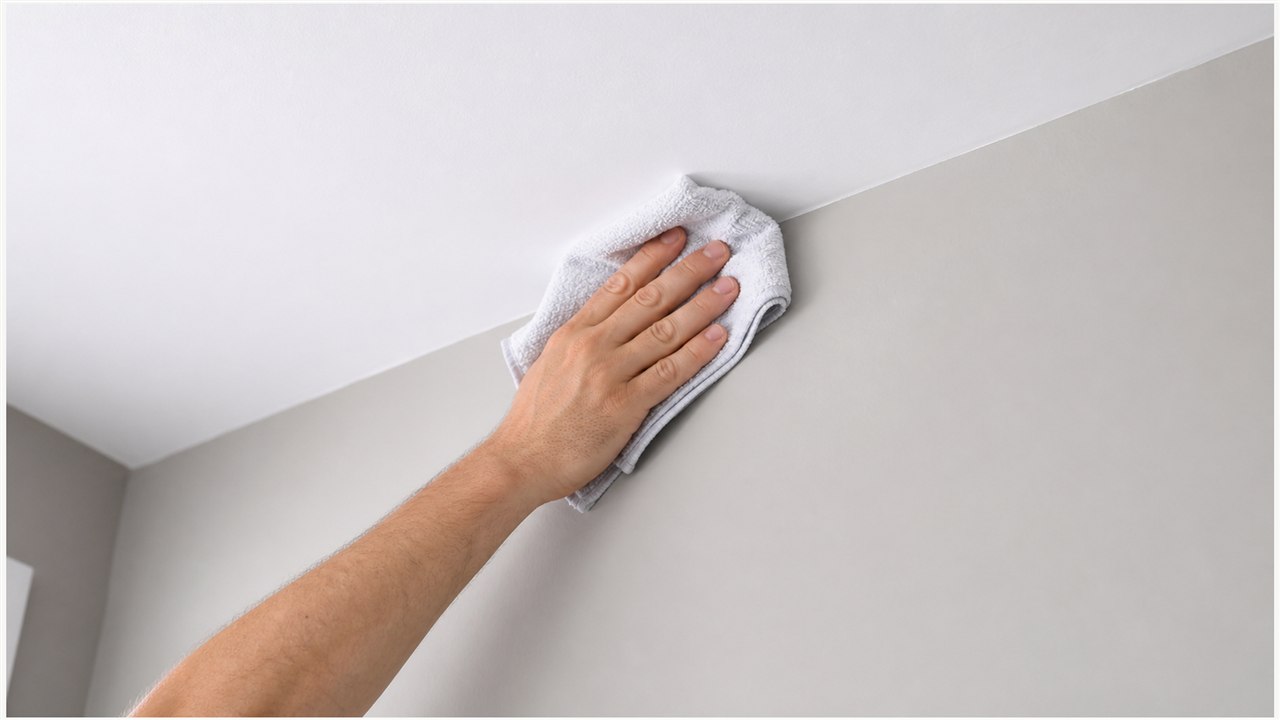
I would avoid this hack in damp bathrooms, above heat sources, near strong sunlight, or on rough popcorn-style texture. It works best when the wall is smooth, dry, and boring enough that a clean trim line can do the visual work.
Install In Short Sections
The safest method is to mark a level guide line, dry-fit the piece first, then peel only a short section of backing at a time. Press as you go instead of pulling the strip tight. Stretching the material can make the ends lift later or create tiny waves along the wall.
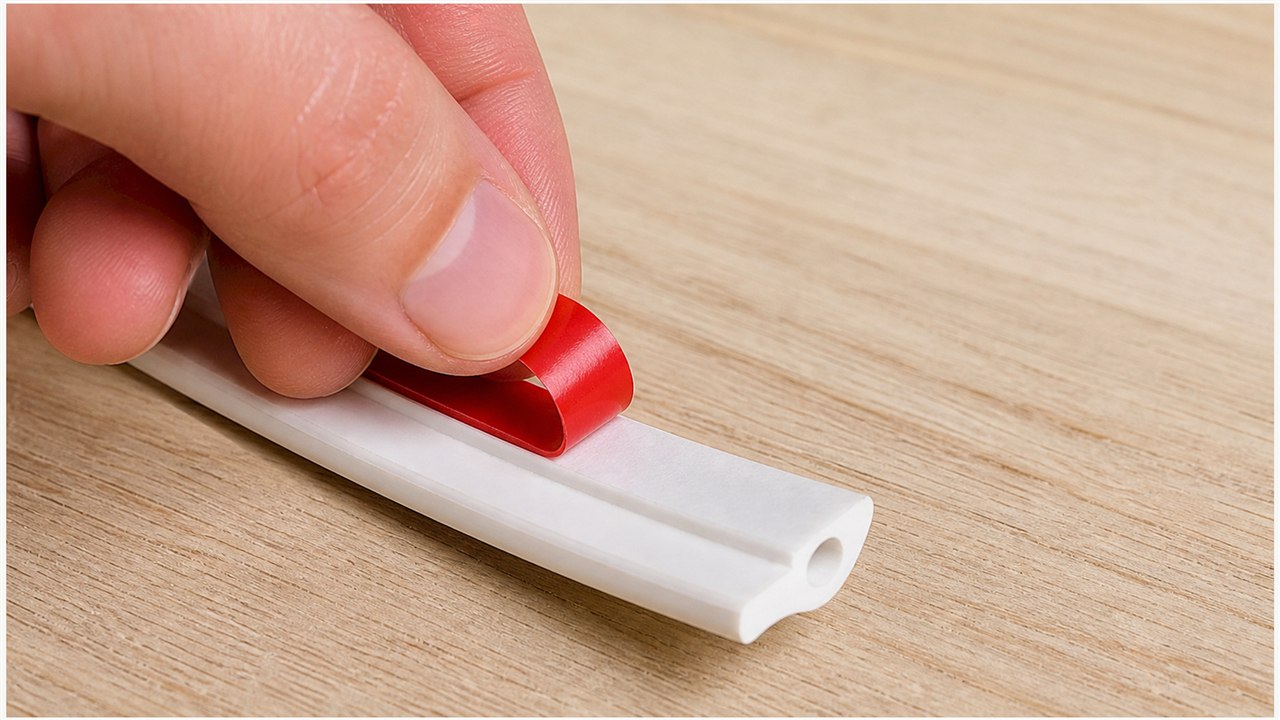
Step back often. From close up, you may obsess over a tiny joint. From across the room, the bigger issue is whether the line feels straight, calm, and intentional. That is what makes the trim read as a design choice instead of a repair patch.
Where It Looks Best
This works beautifully as a small accent: a simple ceiling edge in a bedroom, a framed mirror, a plain doorway, a picture-frame wall detail, or a short run above a console table. The more restrained the placement, the more expensive it tends to feel.
For a full room perimeter, measure carefully and keep expectations honest. Adhesive molding can upgrade the visual line, but it will not hide a very uneven ceiling or replace real trim in a high-traffic renovation.
Final Verdict
Peel-and-stick molding is worth trying when the surface is right and the design is simple. It is not a miracle material, but it can give a plain room a softer, more custom-looking edge with very little equipment. The luxury effect comes from restraint: clean cuts, straight placement, and no rushed corners.
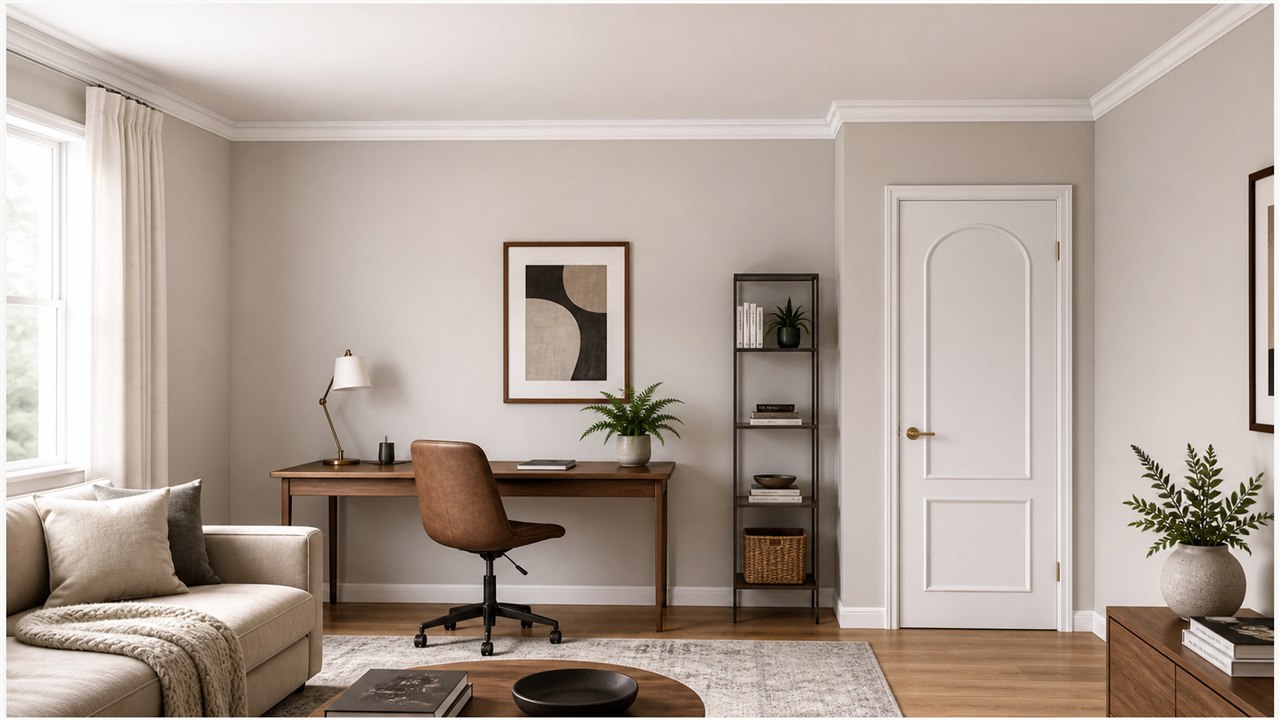
My rule for this hack is simple: use it where lightweight trim can look intentional, not where it has to solve structural problems. Done carefully, it is a small detail that can make the whole room feel more finished.
Leave a Reply