
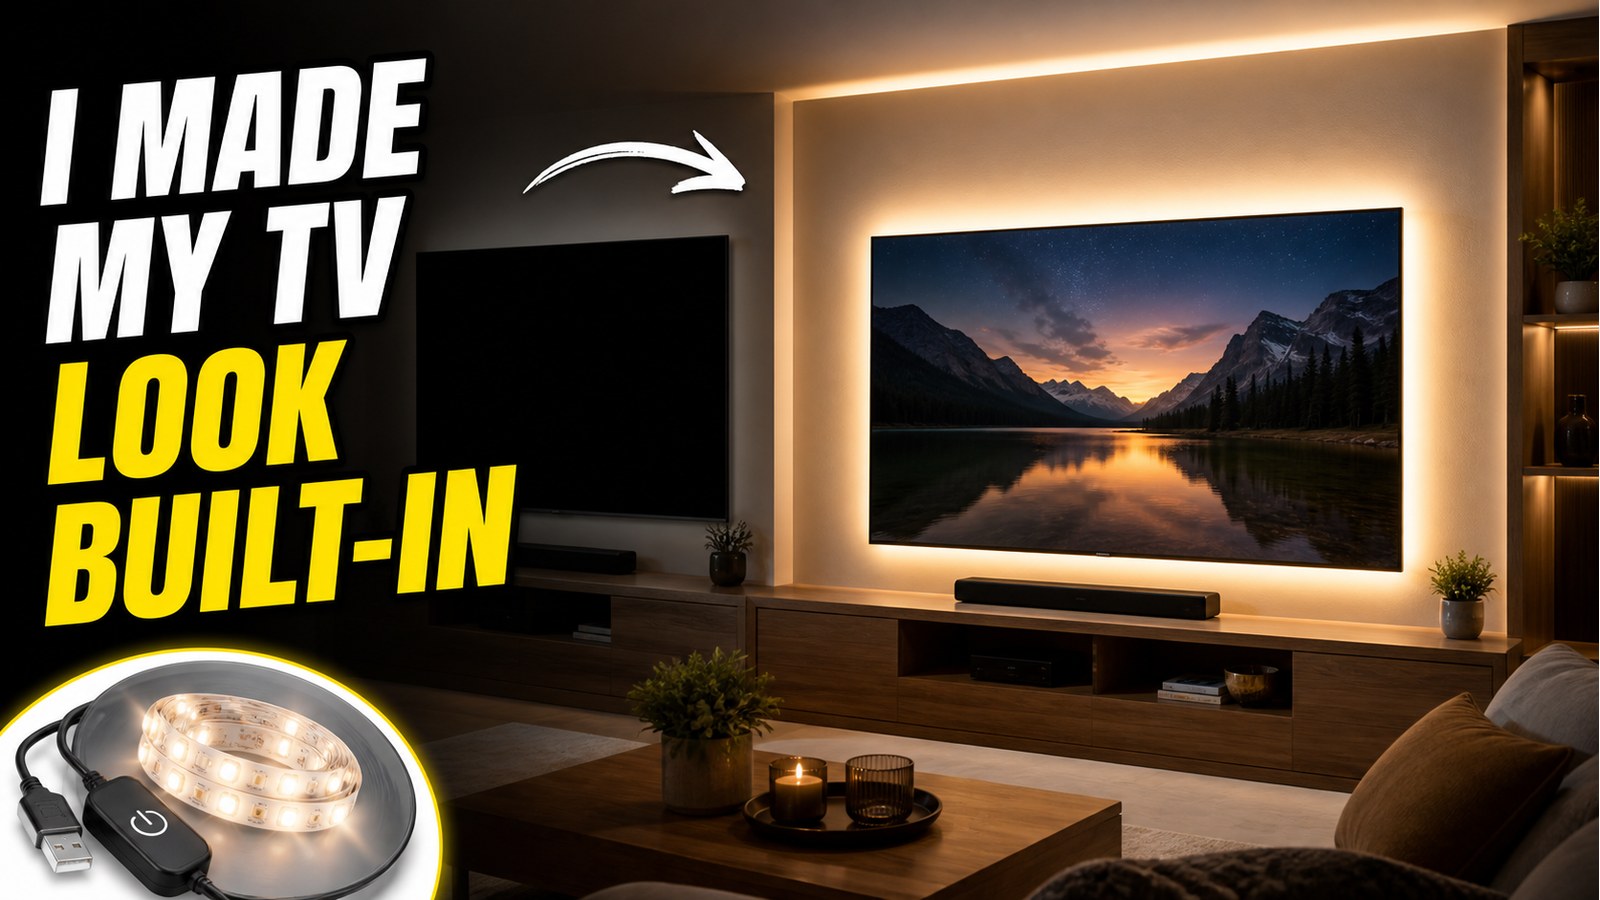
I Made My TV Look Built-In With a $10 Backlight Hack
If your TV looks fine during the day but feels harsh at night, the problem might not be the screen. It might be the dark wall behind it.
A bright rectangle floating in a black room creates heavy contrast. Your eyes keep jumping between the screen and the surrounding darkness. A built-in media wall or custom accent lighting can solve that, but it is expensive and not renter-friendly.
The small version is much simpler: add a low-profile LED backlight behind the TV, hide the strip from the front, and let the wall glow softly around the screen.
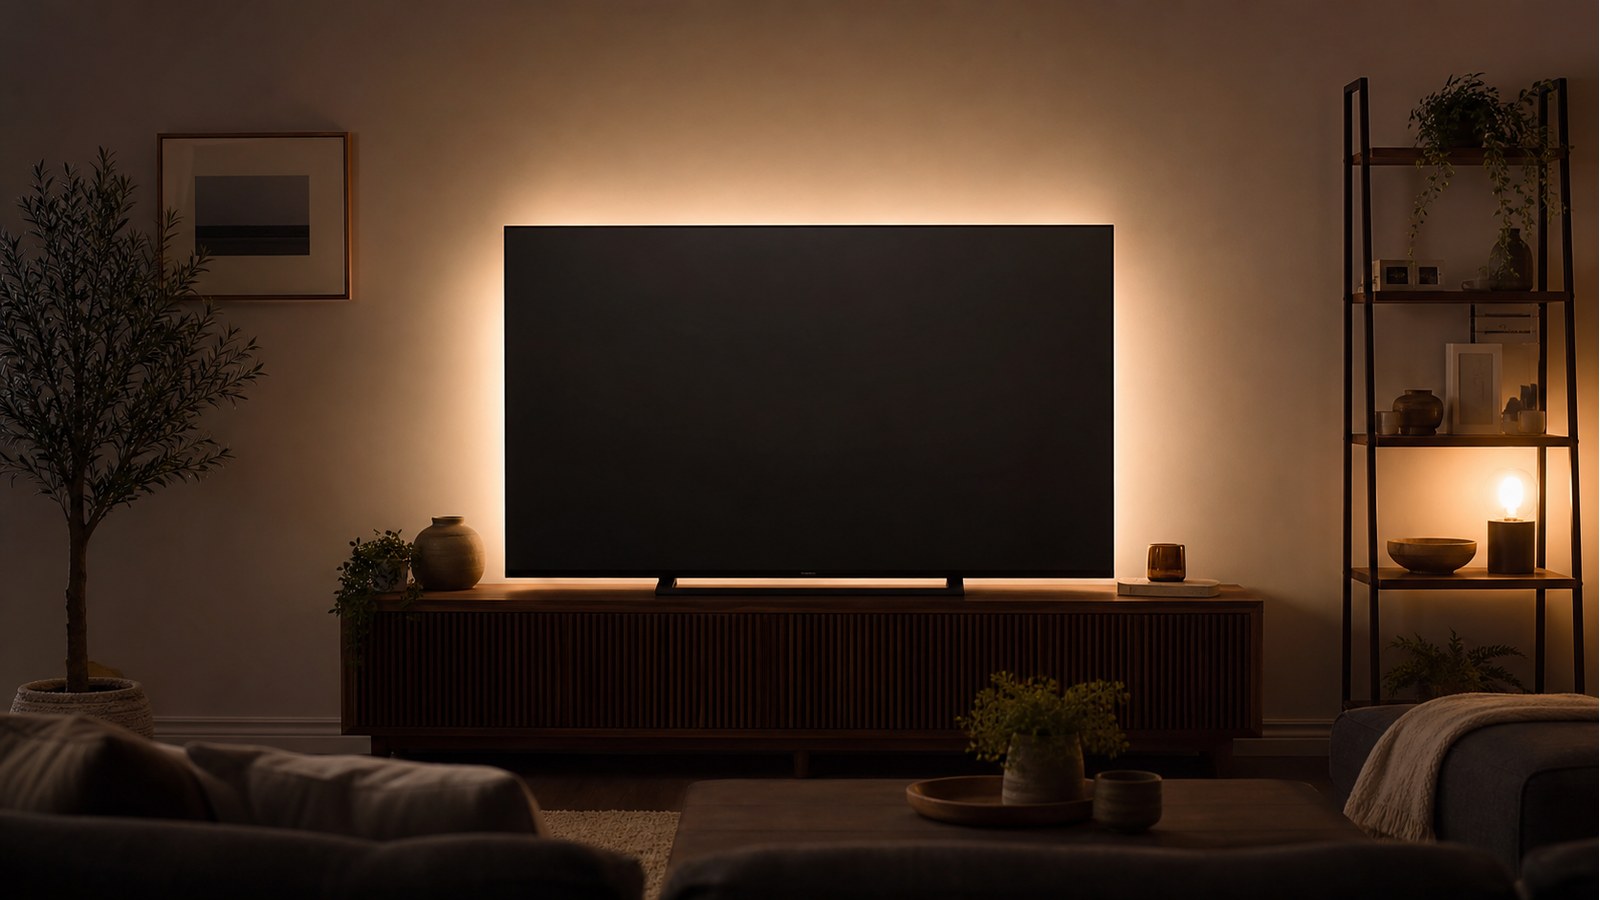
This is bias lighting. The clean version is not rainbow party lighting. It is a soft back-wall glow that makes the TV feel more grounded and intentional.
Real Cost Check
For this hack, the approved market research used Amazon.com in the United States, with prices shown in USD. Visible USB TV backlight kits on the captured Amazon U.S. page included low-cost options around $8 to $12, with a higher-priced Luminoodle option around $17.99.
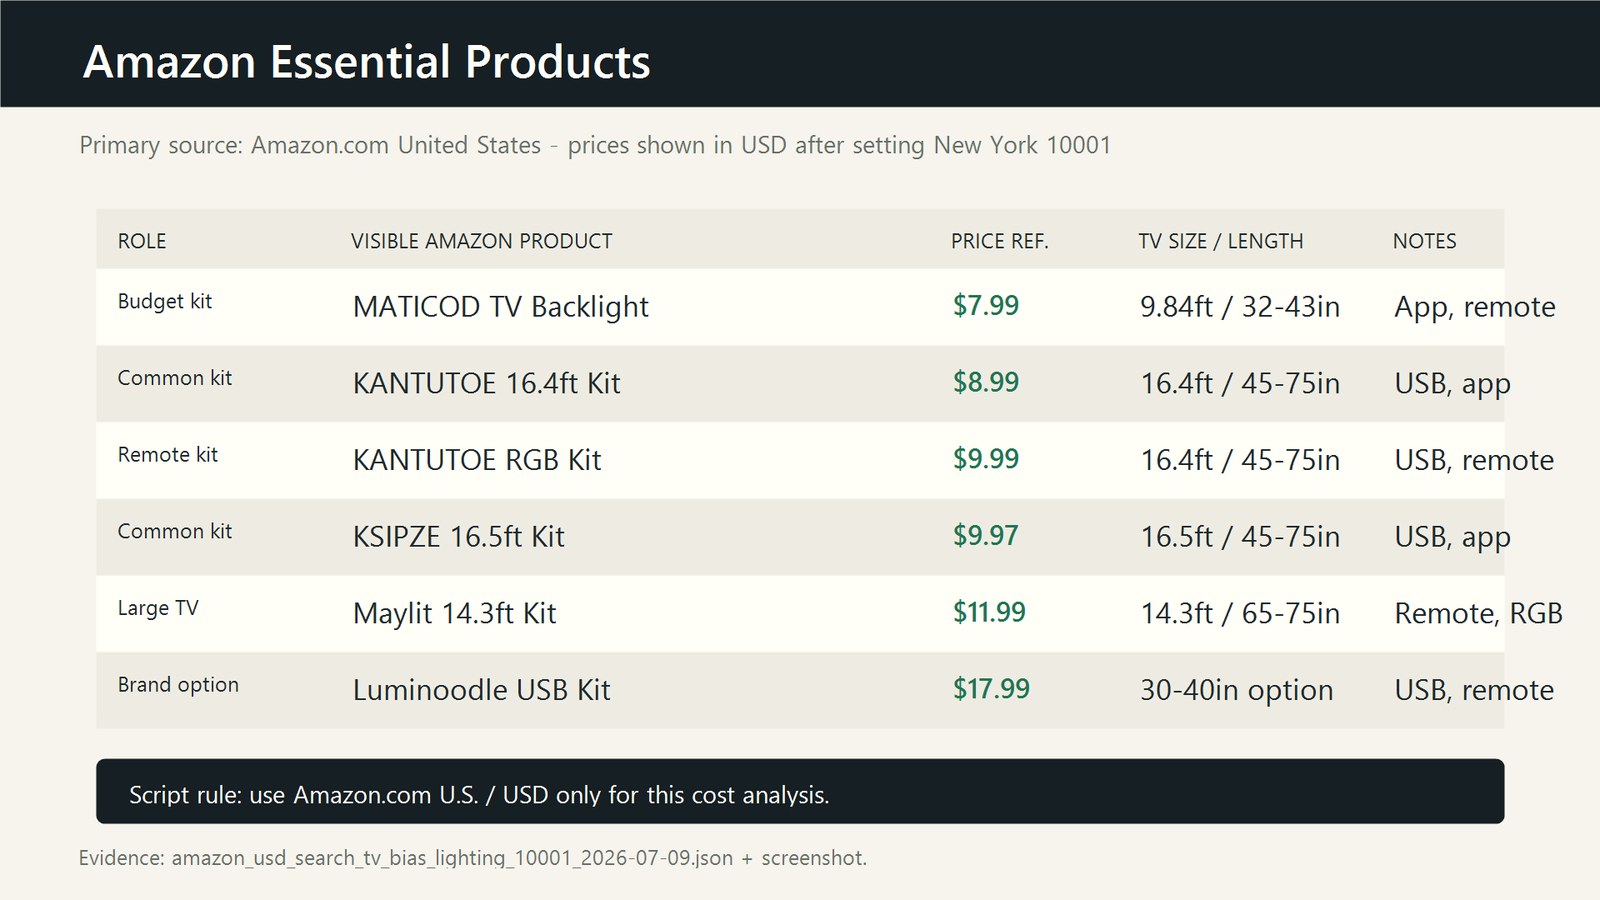
That means the honest claim is not that every kit is always exactly $10. Prices change, TV sizes vary, and longer strips can cost more. The realistic takeaway is that Amazon U.S. showed multiple real USB TV backlight kits under $20, with several visible options near the $8 to $12 range.
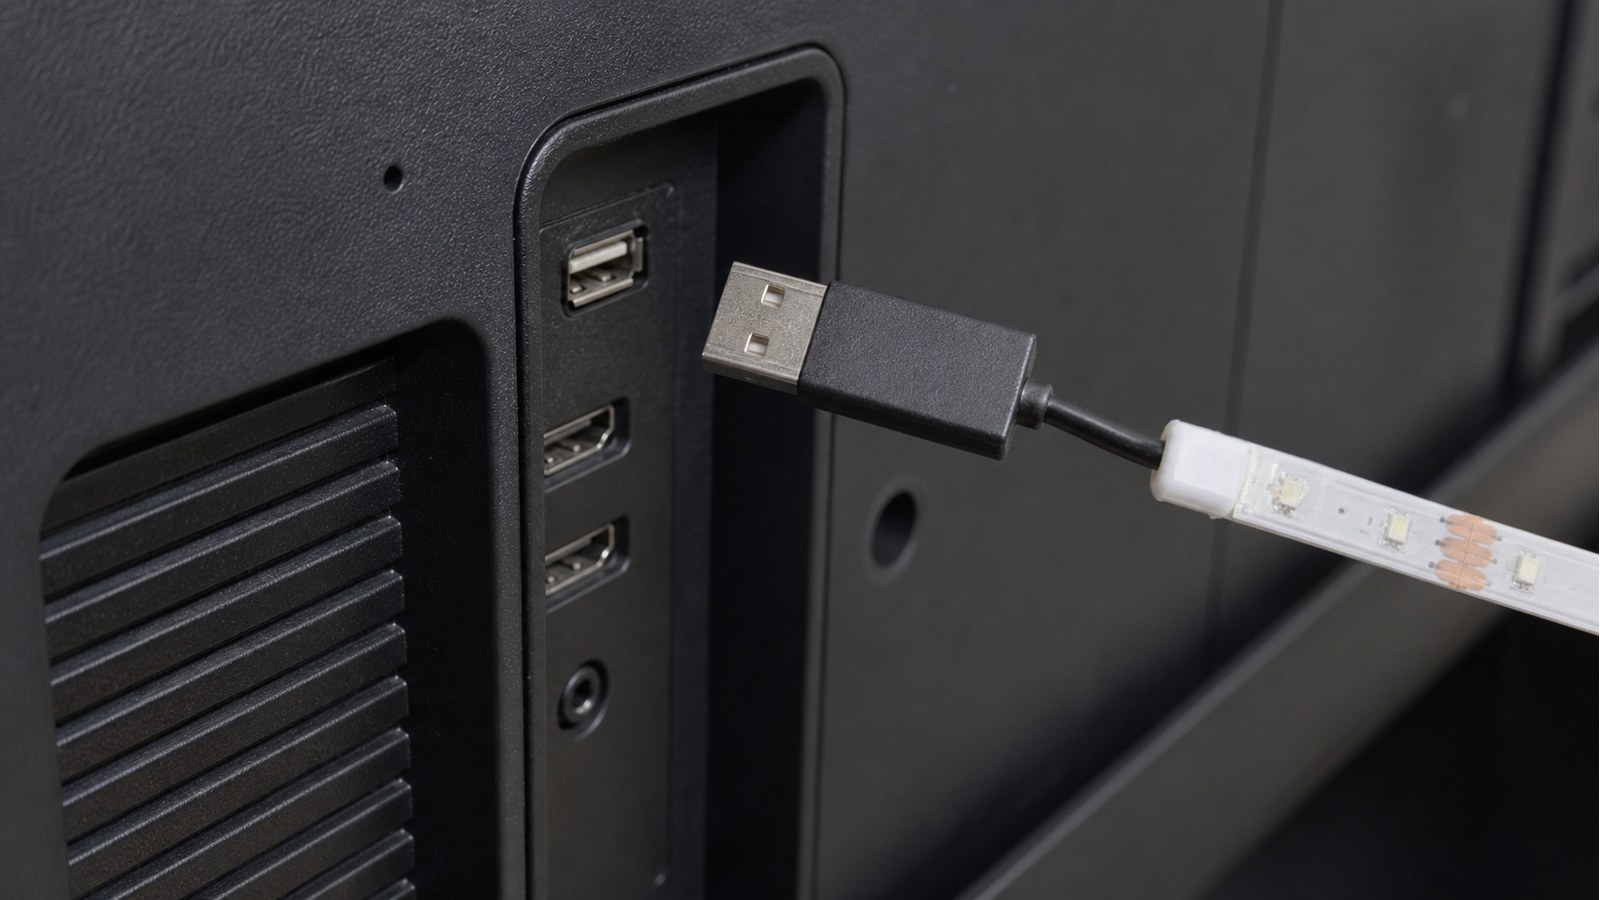
Look for a kit sized for your TV, preferably with brightness control. USB-powered kits are convenient, but only use the TV USB port if the strip's power requirement matches what the port can safely supply.
Choose the Right Kit
First, match the strip length to the TV size. A 32 to 43 inch TV may only need a shorter strip. A 45 to 75 inch TV usually needs a longer 14 to 16 foot kit.
Second, decide how you want to power it. Many people like USB because the light may turn on and off with the TV. But some TV USB ports stay powered after the TV turns off, and some ports do not provide enough current for the strip. Test before committing.
Third, skip the wild settings if your goal is a built-in look. A soft warm white, neutral white, or low-saturation color usually looks much more expensive than full-brightness neon.
Prep the TV Safely
Unplug the TV before working behind it. If the TV is wall-mounted, do not yank it forward. Give yourself only enough room to reach the back safely. If the TV is on a stand, move it carefully and keep it stable.
Inspect the back panel before sticking anything down. Find the vents, ports, screws, speakers, and any areas that get warm. The LED strip should not cover ventilation slots or block access to ports.
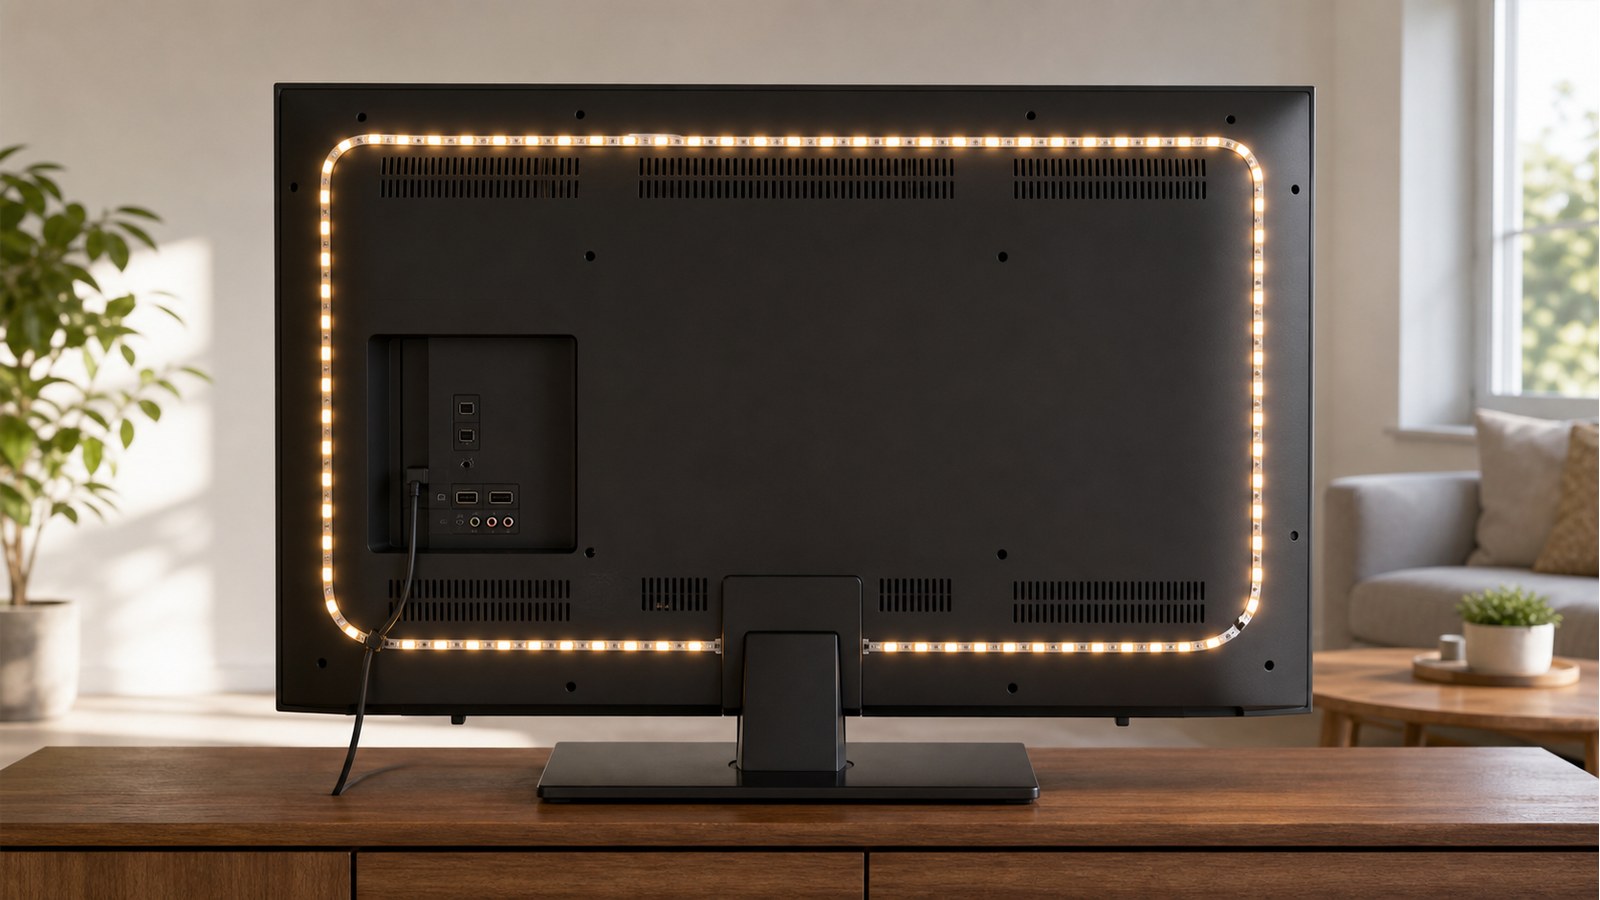
Clean the adhesive path with a dry microfiber cloth. If the back is greasy, use a small amount of isopropyl alcohol on the cloth, not dripping liquid into the TV. Let the surface dry fully before applying the strip.
The Two-Inch Trick
The detail that makes this look expensive is placement. Do not put the strip right on the outside edge of the TV.
Inset it about two inches from the edge, or far enough that the individual LEDs are not visible from the front. You want reflected light on the wall, not exposed dots shining into your eyes.
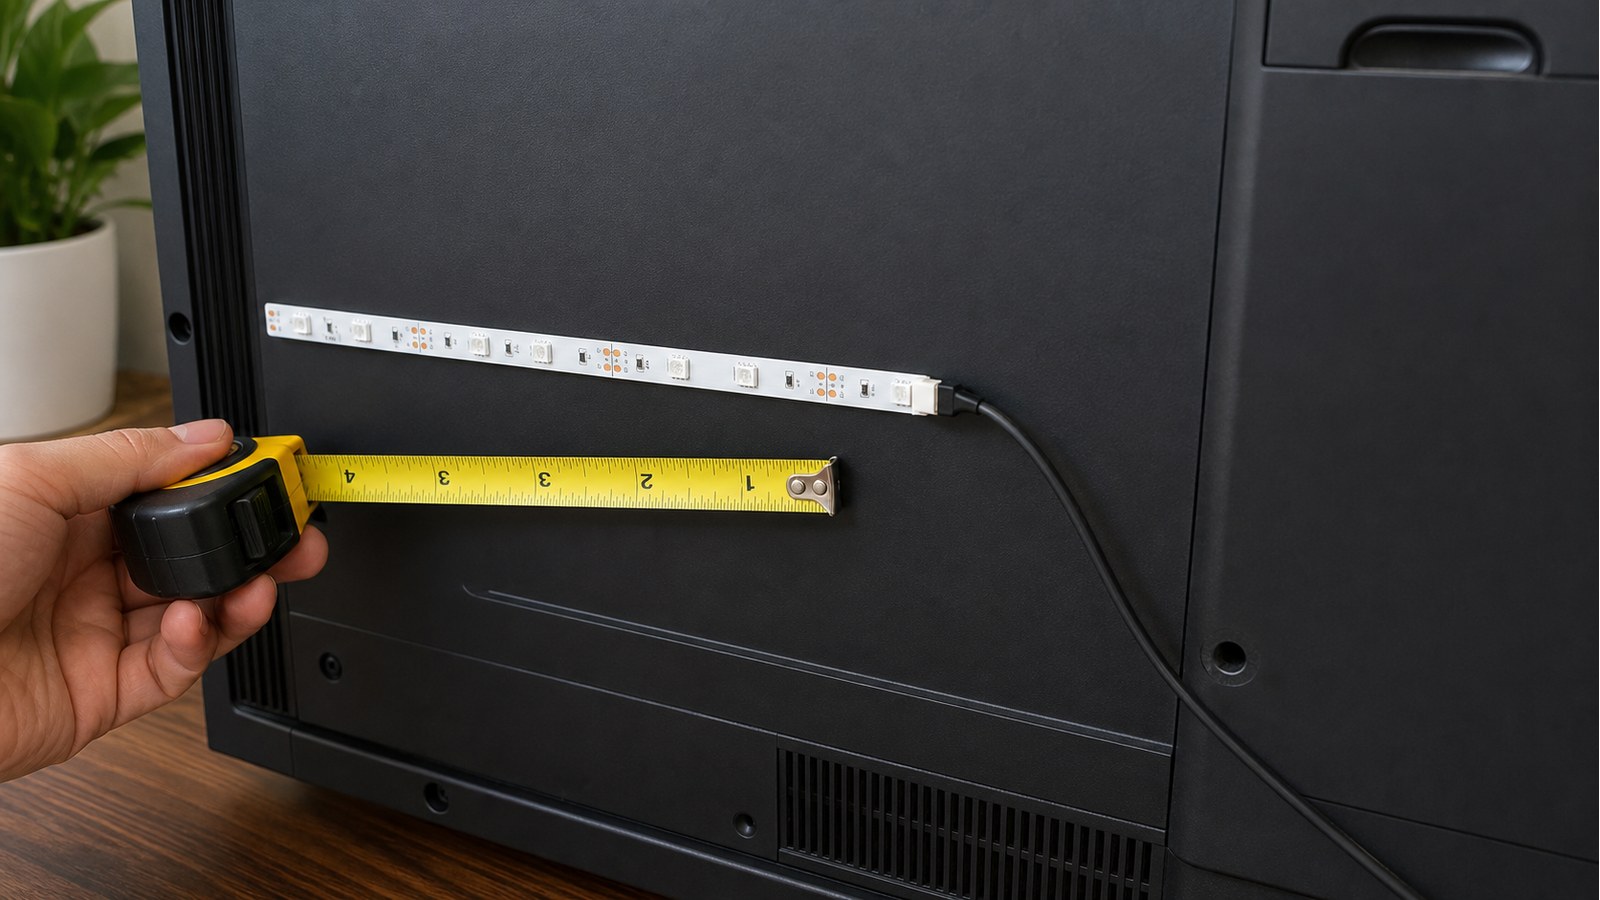
Start near the lower back corner, close to the USB port if possible. Dry-fit the strip first with the backing still on. If the kit has corner connectors, use them gently. Do not sharply fold across LED chips.
Once the path looks right, peel a short section of backing and press it down. Work slowly. Keep the strip straight enough to look intentional, but do not stretch it. At corners, keep the bend relaxed. If the stand or ports block the bottom edge, skip that area. A top-and-side glow can still look clean.
Cable and Brightness
Plug the USB into the TV only if the port is easy to reach and does not create strain. Leave a small service loop so the cable is not pulled tight when the TV moves. Use small cable clips or soft ties if needed, but keep them away from vents.
Turn the TV on and set the light low. This is where the hack either looks calm or cheap. Full brightness, neon blue, and music-sync flashing can make a living room feel chaotic.
For a clean home-theater look, start with warm white or neutral white. If your wall is white, keep the brightness low. The backlight should support the screen, not compete with it.
Final Check
Sit where you normally watch TV. You should not see the strip itself or bright LED dots. You should only see a soft glow around the screen, like the wall is gently lit from behind.
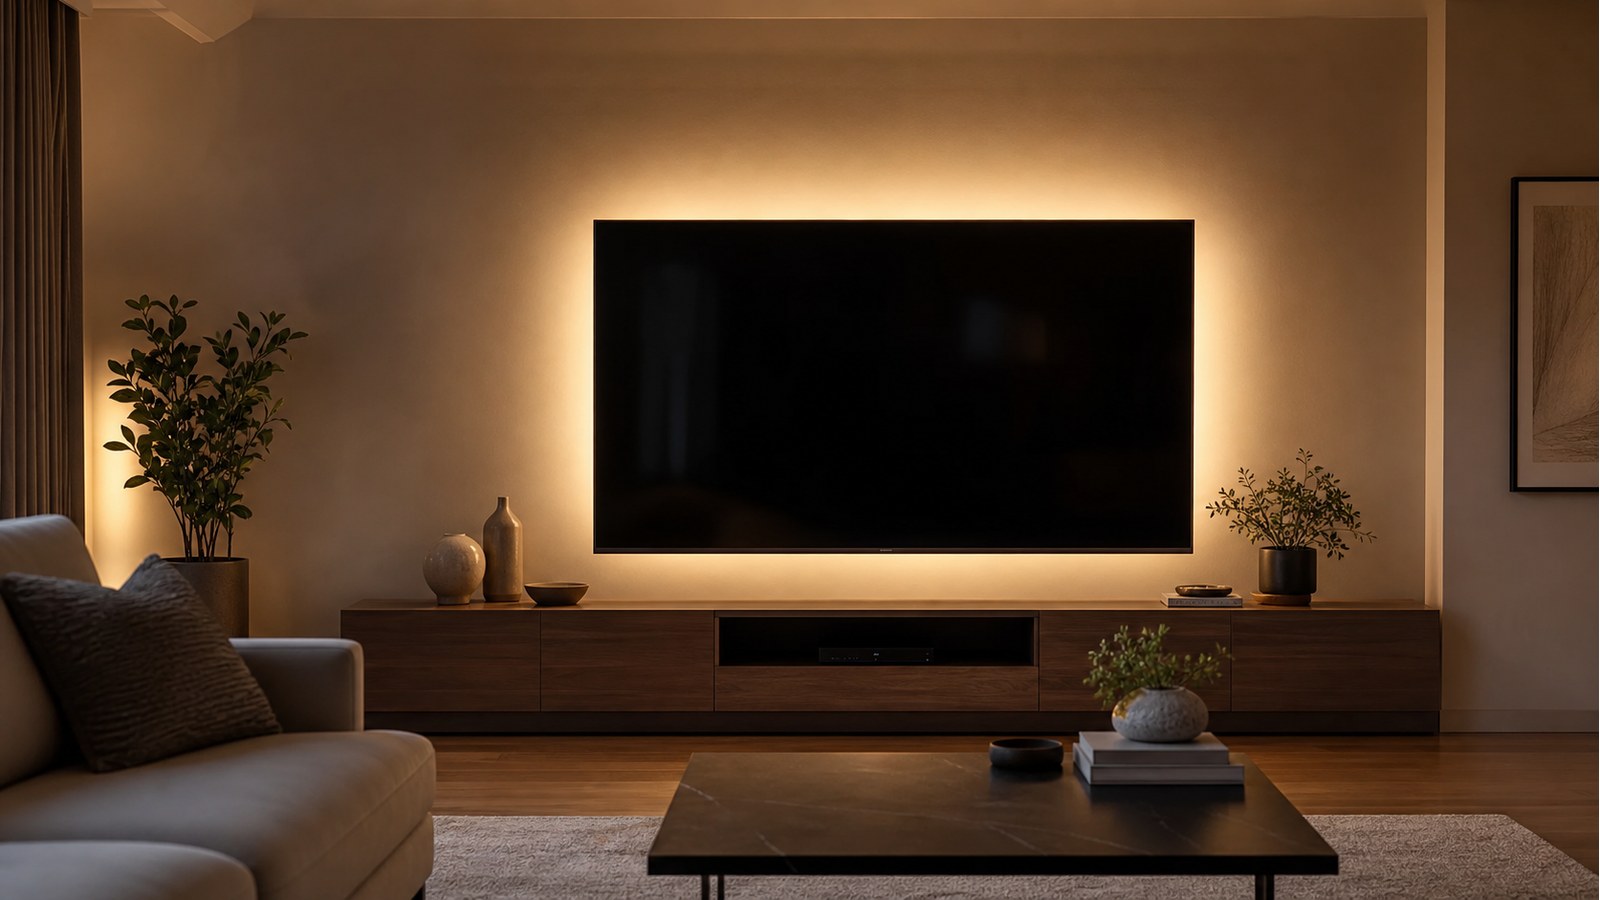
If one side is much brighter, adjust the strip path or dim the light. If the glow catches messy cables, tidy the cable route. If the wall reflects too much, lower the brightness.
The final result is subtle, and that is why it works. The TV no longer looks like a harsh floating rectangle. The wall has depth, the picture feels easier to watch at night, and the setup looks closer to a built-in media wall without drilling or custom wiring.
Quick Recap
- Use a real USB TV backlight kit sized for your screen
- Check current Amazon.com U.S. pricing in USD before buying
- Do not overload the TV USB port
- Keep the strip away from vents, ports, hot areas, and speakers
- Inset the strip about two inches so the LEDs stay hidden
- Use low brightness and soft white or low-saturation color
That is how a cheap LED strip becomes a low-profile TV backlight illusion.
Leave a Reply