
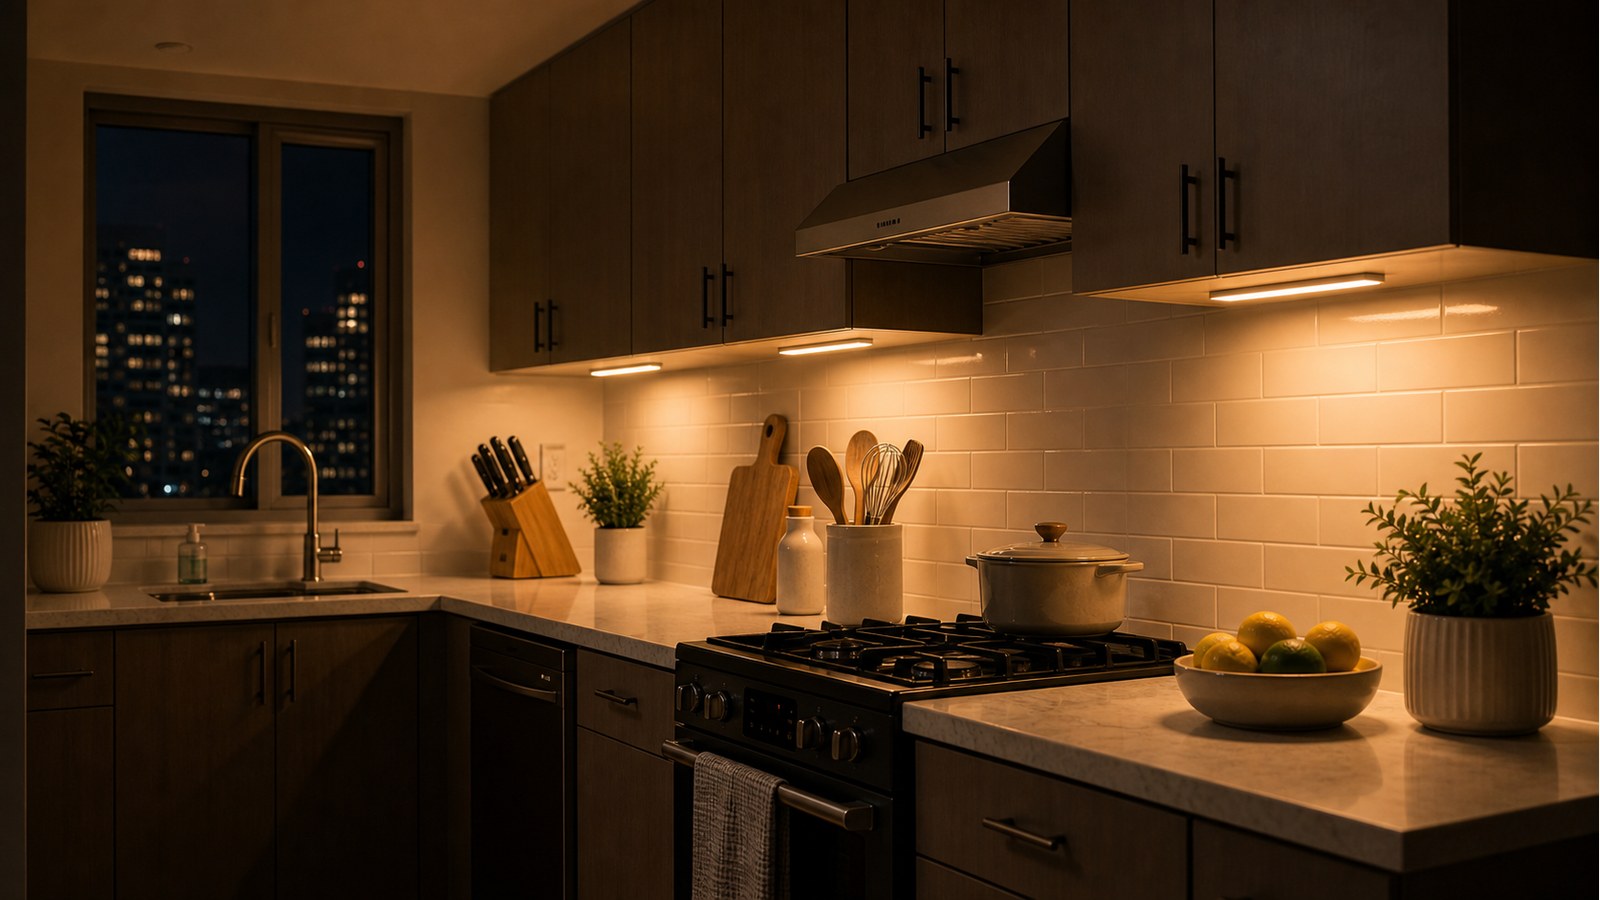
This micro hack turns a dark kitchen counter into a soft, useful prep zone without wiring, drilling, or hiring an electrician. It uses rechargeable magnetic motion LED bars: the light sticks to small adhesive metal plates, snaps on magnetically, and pulls off later for USB-C charging.
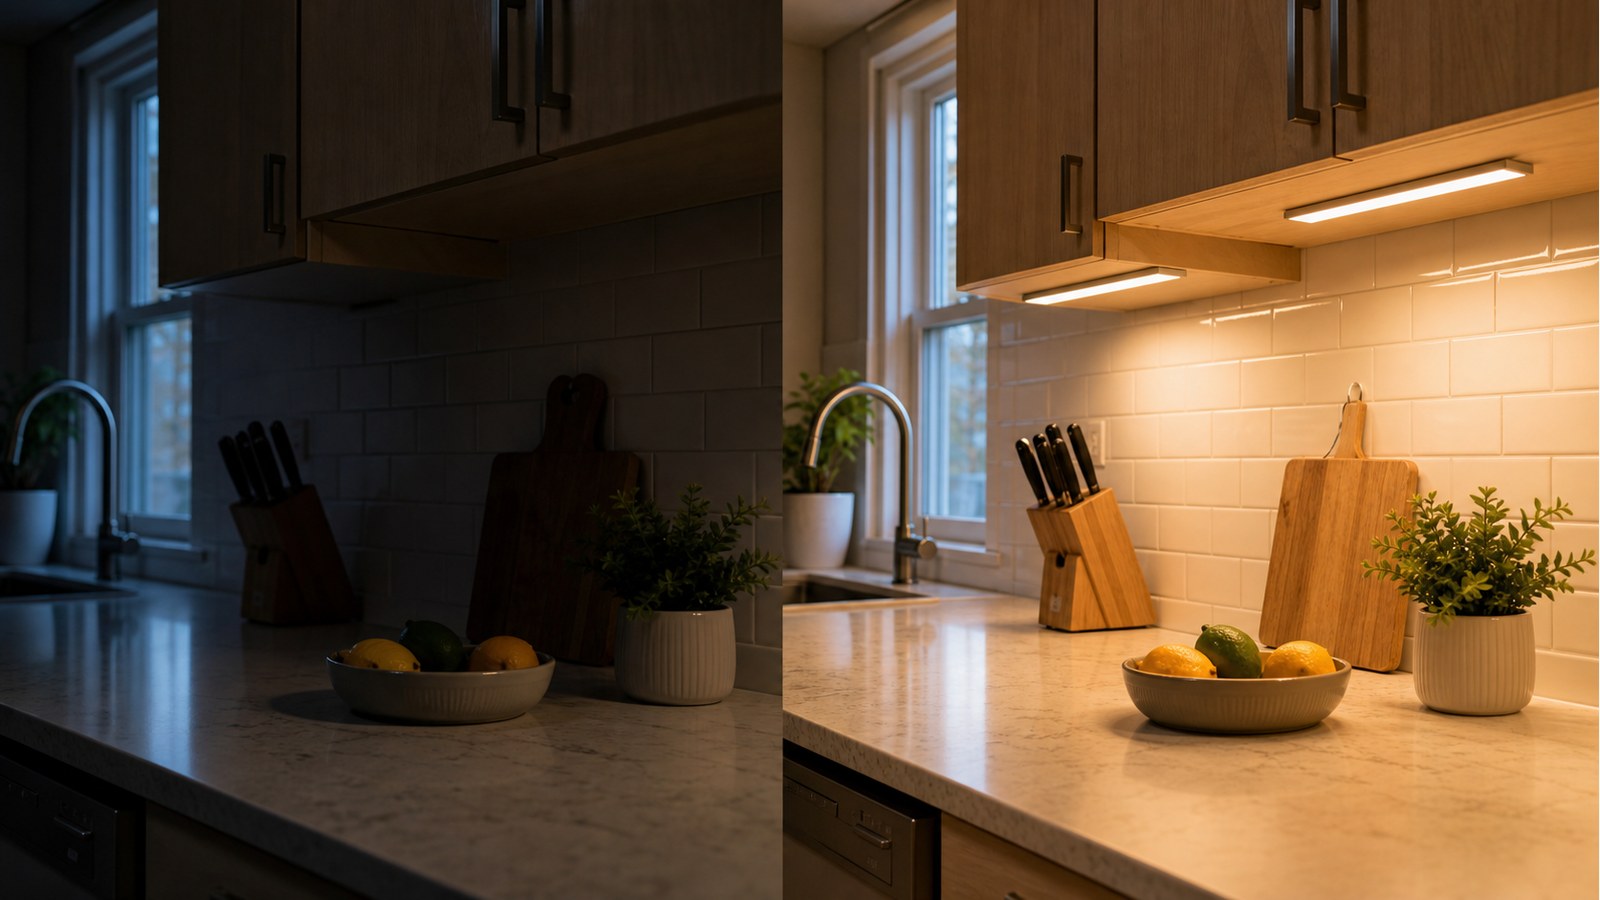
The Problem
Overhead kitchen lights often hit your head first, which leaves your hands working inside a shadow. That is why a clean counter can still feel dark at night, especially near the backsplash or under deep cabinets.
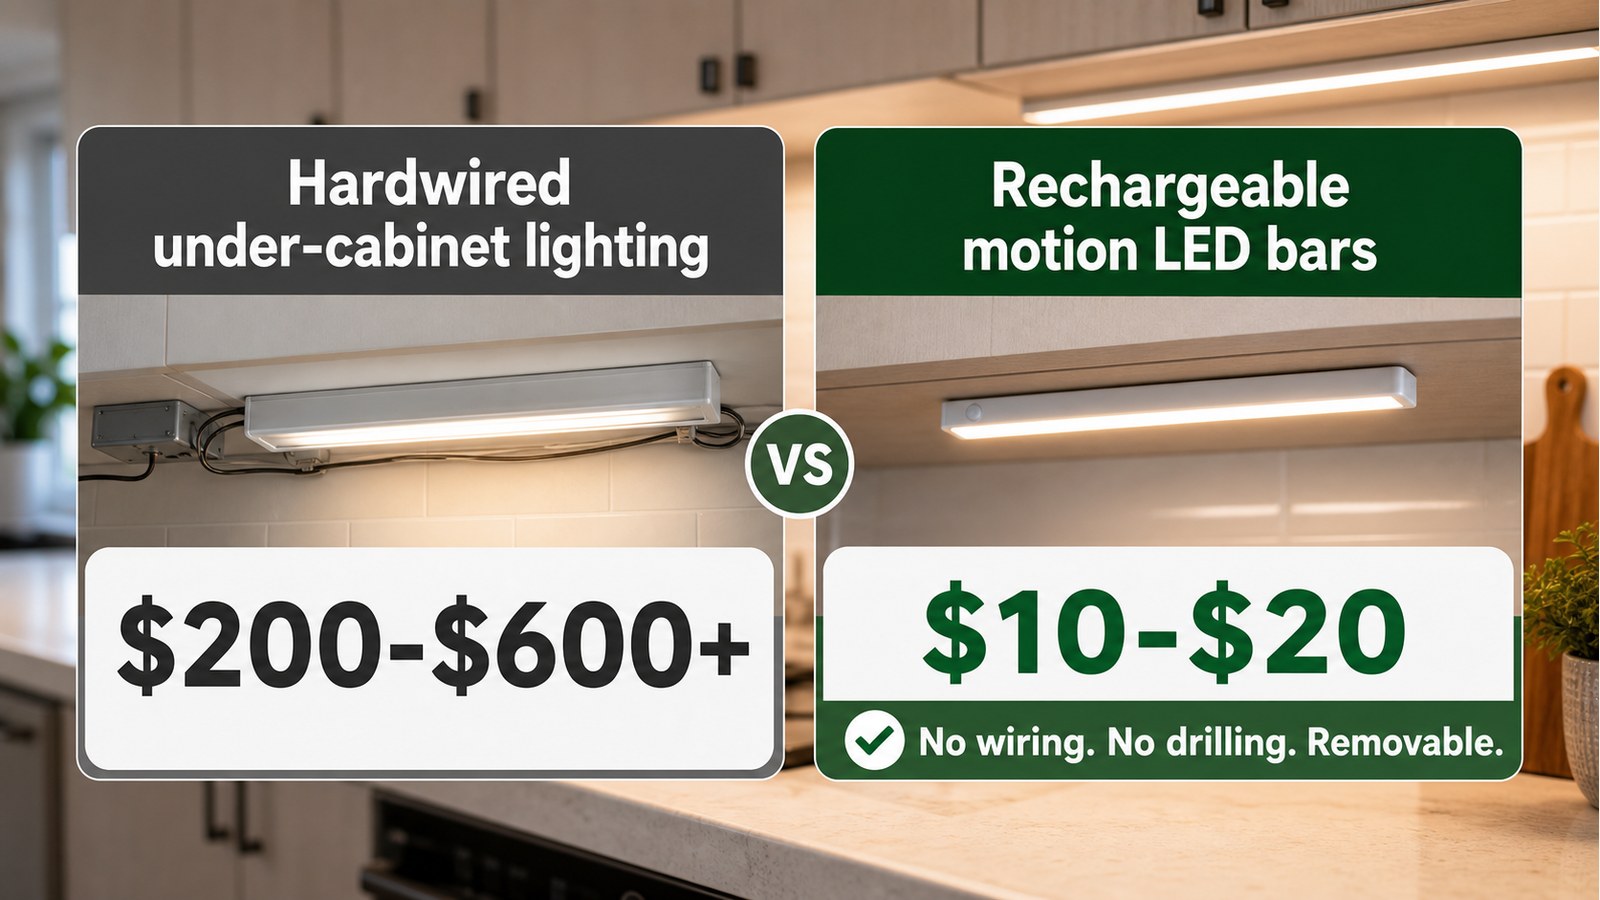
Hardwired under-cabinet lighting looks clean, but it can require fixtures, wiring, switches, and labor. For renters, it also adds permission issues and move-out problems. This version keeps the glow, but removes the construction.
What You Need
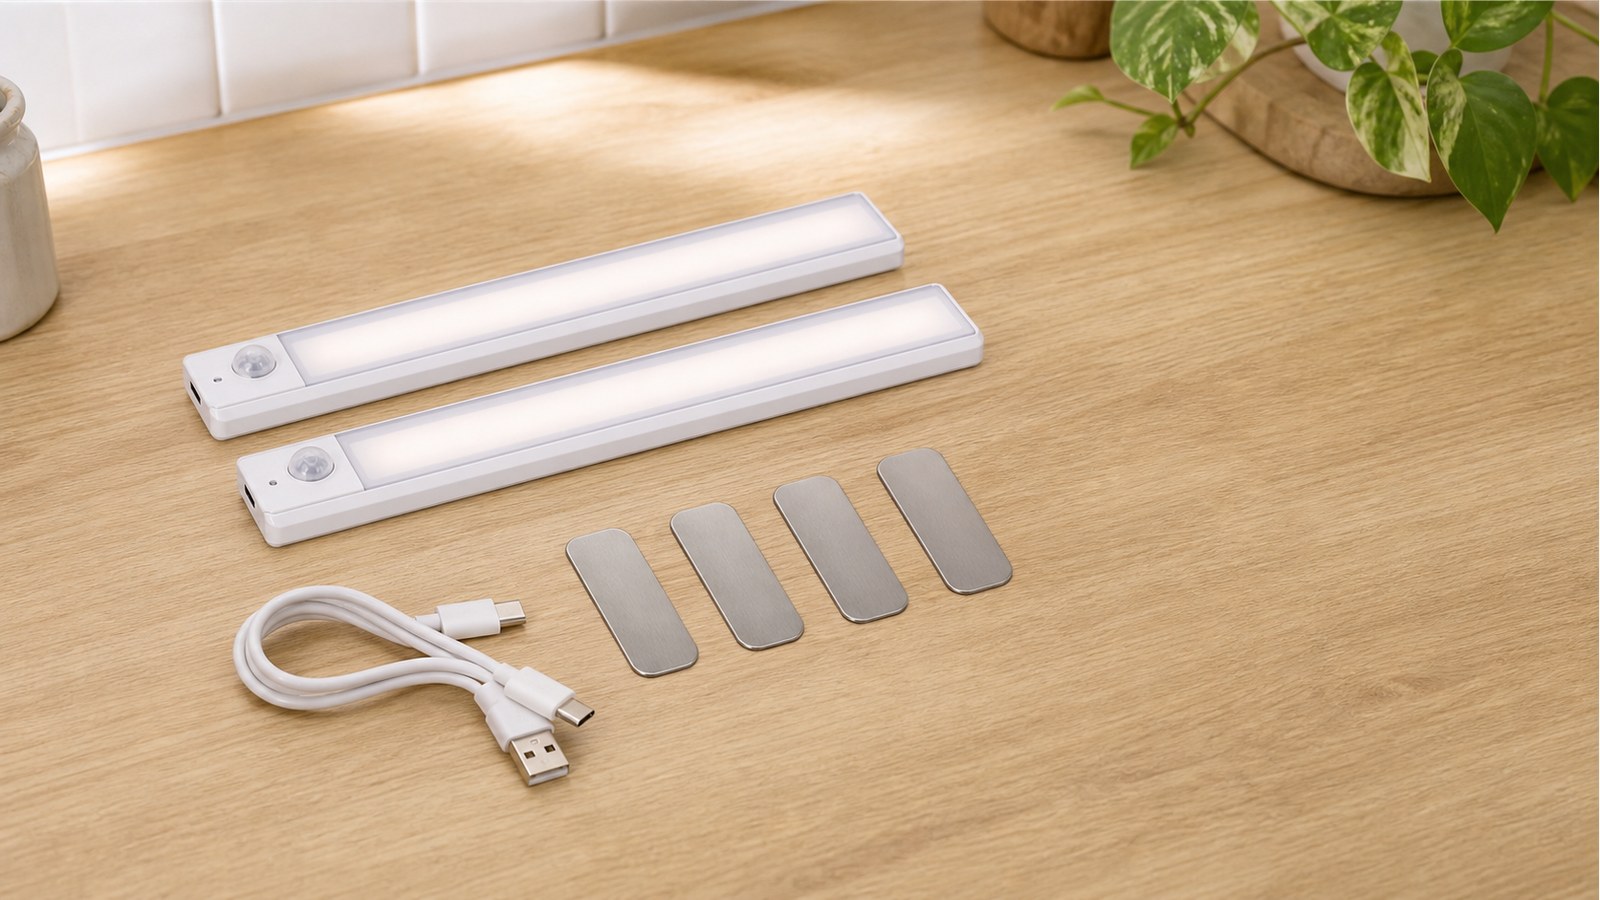
- Rechargeable magnetic motion LED bar
- Adhesive metal mounting plates included with the light
- USB-C charging cable
- Microfiber cloth or alcohol wipe for cleaning the cabinet underside
- Painter tape for a temporary guide line
Step 1: Clean The Cabinet Underside
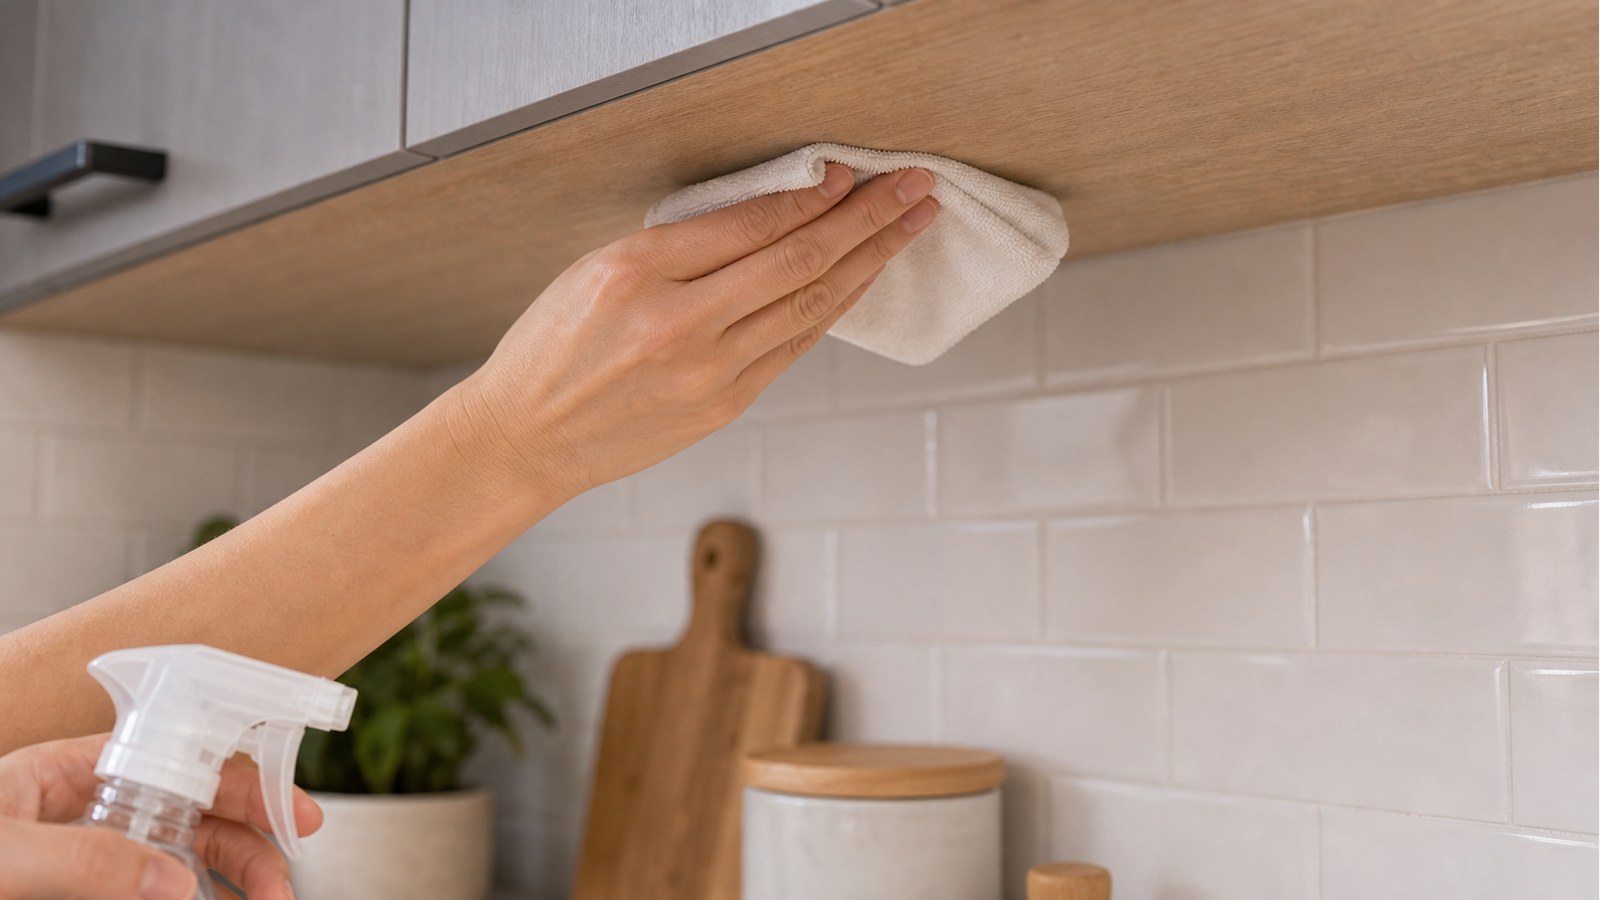
Before sticking anything, degrease the underside of the cabinet. Kitchen cabinets collect oil, steam, and dust exactly where adhesive needs grip. Wipe the area clean, dry it fully, and do not stick plates onto a damp or slick surface.
Step 2: Test Placement Before Peeling
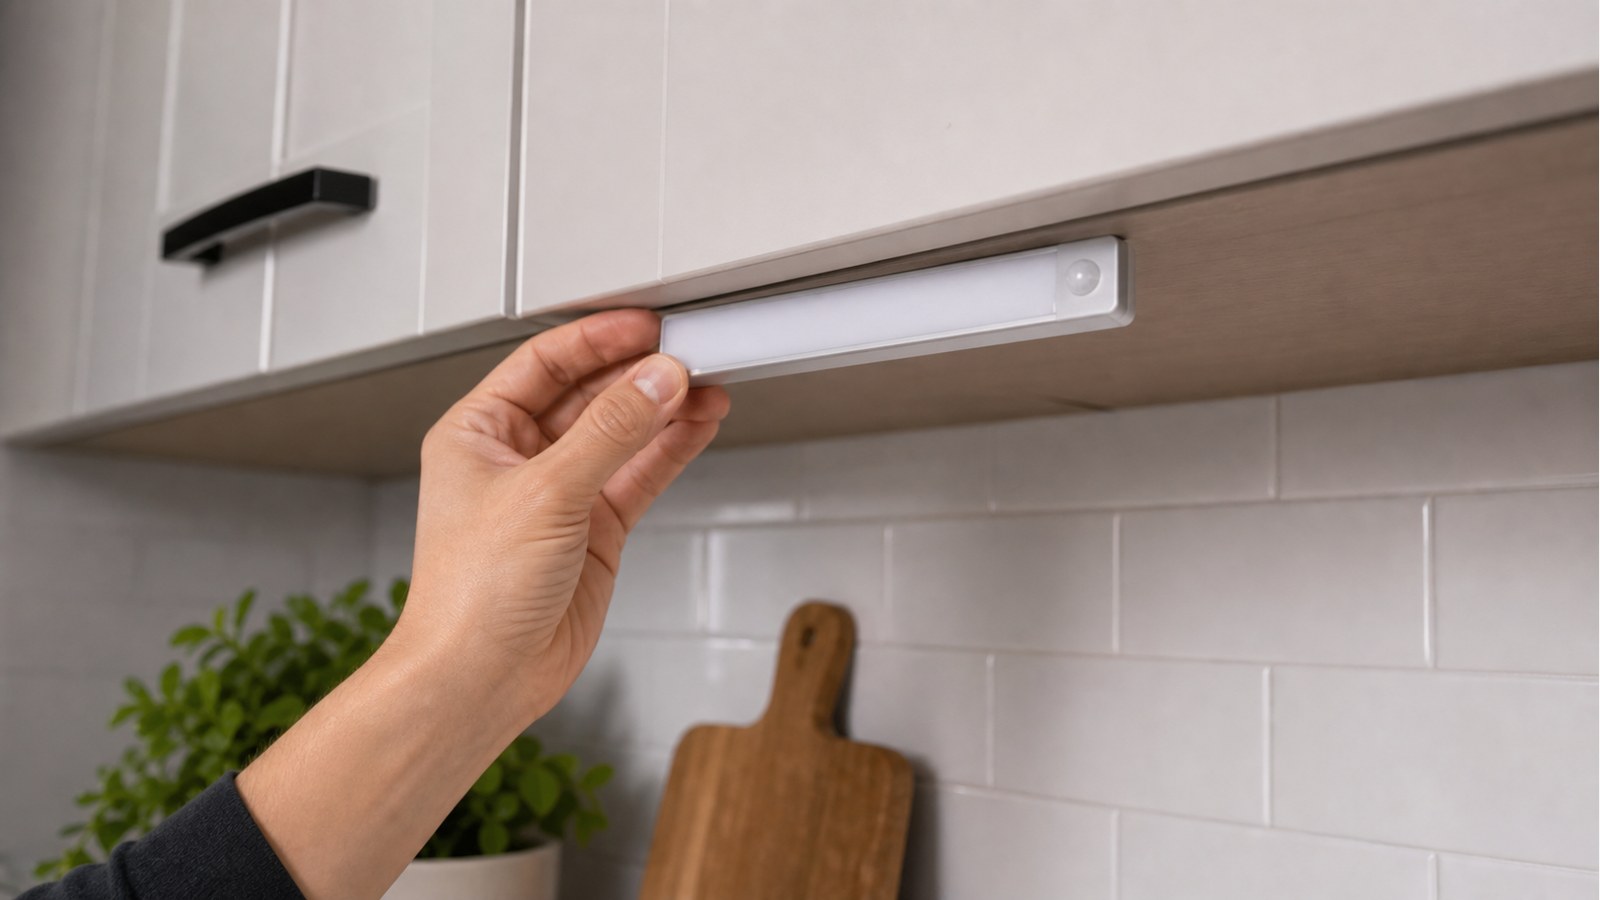
Hold the light under the cabinet before removing the adhesive backing. Start near the front edge, not buried at the back. Front placement throws light across the counter instead of only lighting the backsplash.
Also check the motion sensor direction. The sensor should face the direction your hand or body enters from. If it faces the backsplash, it may miss you when you walk into the kitchen.
Step 3: Stick The Metal Plates
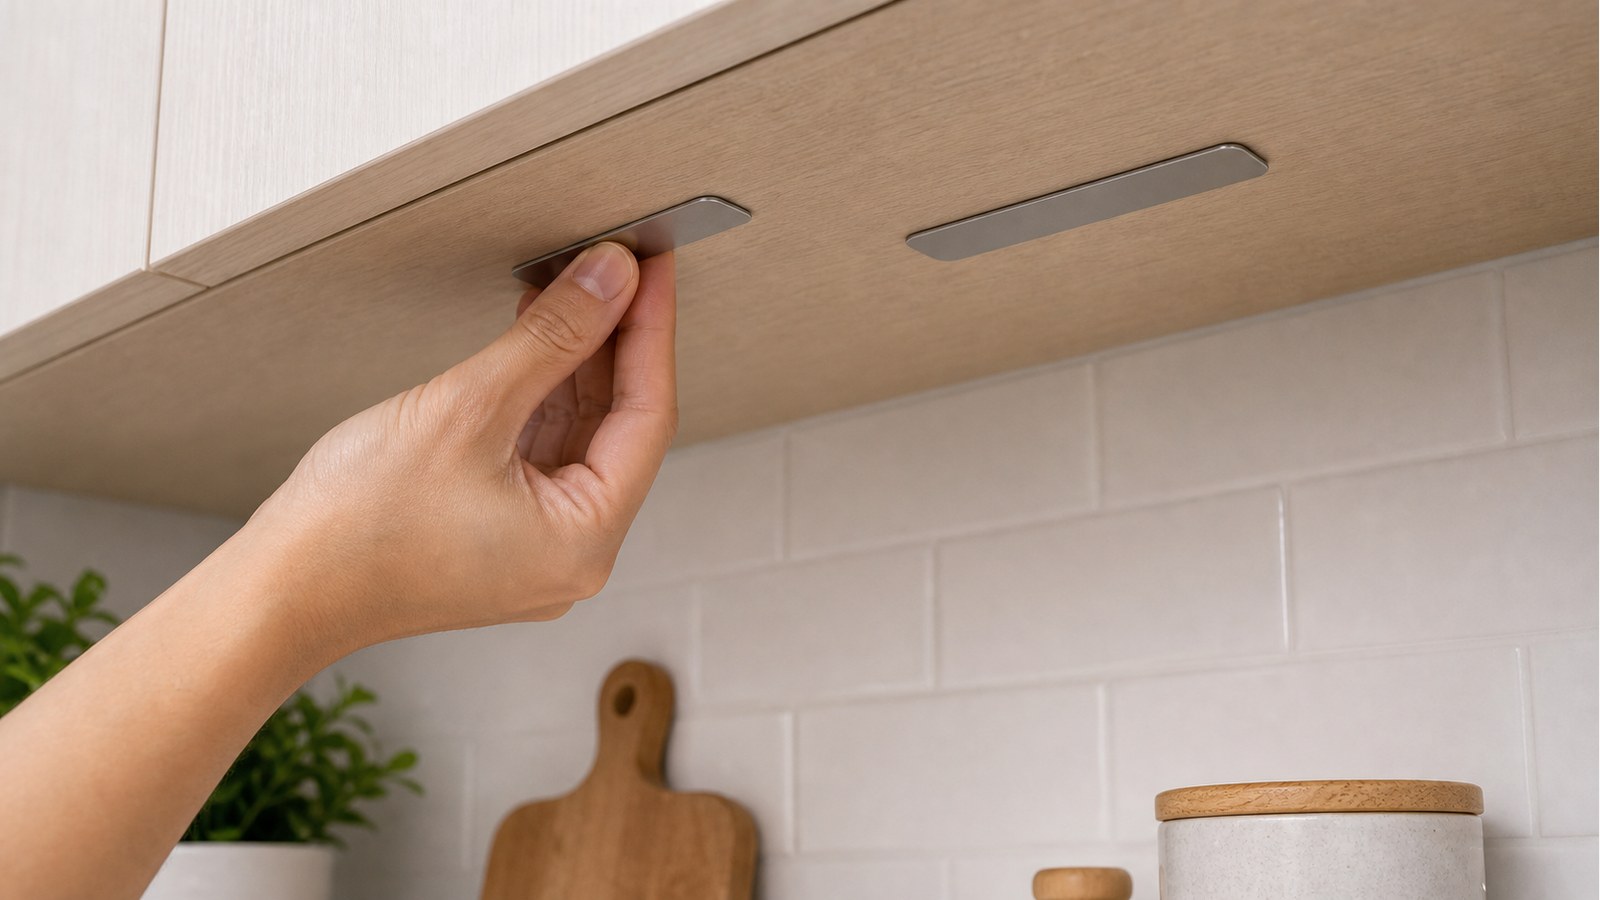
Use painter tape as a temporary guide line. Peel the backing from the metal plate, not from the light bar itself. Press the plate firmly so the adhesive seats flat. For longer bars, use two plates so the light does not twist.
Step 4: Snap On, Test, And Adjust
Snap the LED bar onto the plates with the magnets. Give it a gentle pull test. Then set the brightness and color temperature: neutral white for food prep, warm white for night glow, and night motion mode if you want automatic light only when the room is dark.
Cost Comparison
Rechargeable motion bars are usually about $10-$20 for a two-pack. Hardwired under-cabinet lighting can easily run $200-$600+ once fixtures, wiring, switches, and labor are involved. That is the whole point of this micro hack: a clean visual upgrade without turning one dark counter into a construction job.
Maintenance
When the battery runs low, pull the bar off the magnetic plates, plug in USB-C, recharge it, and snap it back on. Keep the charging cable in one basket so the setup stays easy to maintain.
Quick Recap
- Clean and dry the cabinet underside.
- Hold the bar in place before peeling adhesive.
- Place it near the front edge so light reaches the counter.
- Face the motion sensor toward your walking path.
- Stick the metal plates, then snap the bar on magnetically.
- Use warm or neutral light for the best kitchen look.
Leave a Reply